 So this is the next stage in my process using Studio Calico's Camelot Project Life kit which will go live Sunday!
It's about 11 pm on Friday night. Jeff's on his Playstation and I'm catching up on Grey's. This is usually the time I get to watch "mommy shows" and not Power Rangers or NBA.
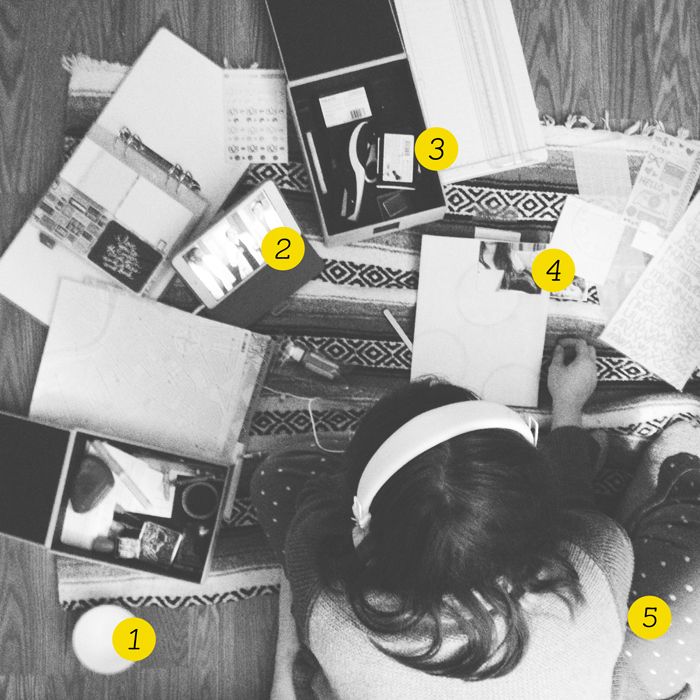
Here's the breakdown.
1. must have snacks. I'm pretty sure this is a bowl of my son's goldfish.
2. Grey's on the iPad.
3. my box of essentials that I keep on hand. It's a good size to just pick up and take where ever I'm scrapbooking at the time whether it's the floor or kitchen table.
4. this is actually a failed layout I'm working on using the Camelot Scrapbook kit.
5. my favorite pj's I found on the Target clearance section for like, $4 and an oversized sweater my mom sent me. It's like a wearing a blanket.
As you can see, I'm scrapping on the floor again. Even though my husband and I are engaging in 2 separate activities, I still like to be near him. And I really don't feel embarrassed or ashamed to admit we spend a few Friday nights like this. We usually start out watching a movie or something and of course talking about what crazy funny thing Tyler's has done that day.
Ok, back to the process.
For the past few days, I've been editing and uploading photos to PS. I print from home on a Canon MG320 printer. I usually use matte photo paper (Epson or Office Max, whichever is on sale) but I found a big pack of Ilford satin inkjet photo paper last week while thrifting and it is really nice. The only thing I don't like is that I can't stamp or journal on it but still...the photo prints look great.
I really loved Shanna's spreads last month. She used the Collect app and printed through Persnickity but I don't like to wait for my photos to arrive in the mail. I have little patience when it comes to scrapping these days. I created my own layered template through PS to achieve this look which is incredibly simple to do.
You'll also notice that I've applied some digital brushes that will be available on the 27th.
There are times when I can't decide if I want to do a full 3x4 photo or a square so I'll print both. I like options.
After I've sliced up my photos, which btw...I just purchased a new portable paper cutter and I love it. I was using my profesh cutter I use for my screen prints. It's heavy duty and not meant for everyday cutting. I ended up getting the Martha Stewart cutter from Michael's. I used a 40% off coupon and I like that it's white.
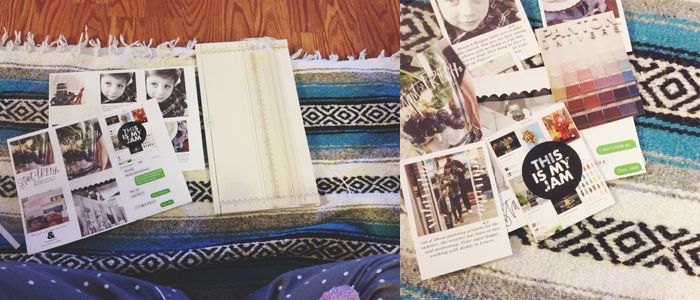
Now I'm ready to piece apart the kit. I'm only working with the main kit here. Studio Calico asks us (the ct) to utilize the main kit as much as possible so that is where I start. This was a request on behalf of those members who only sub or purchase main kits and I like that. Additional items can be overwhelming for some scrapbookers (like myself) not only creatively but financially.
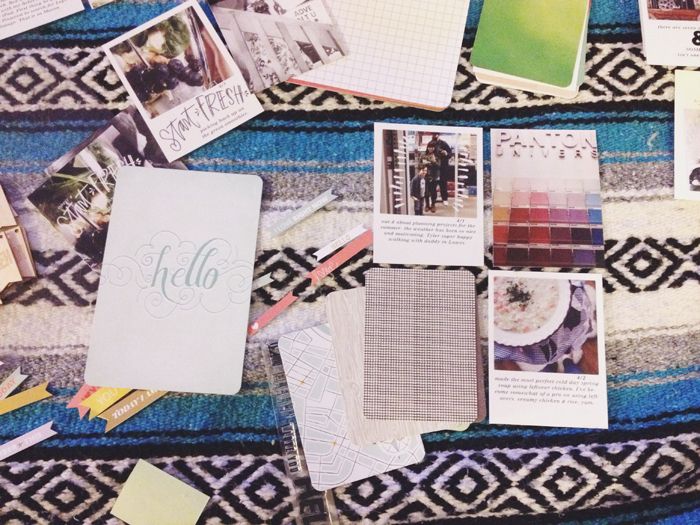
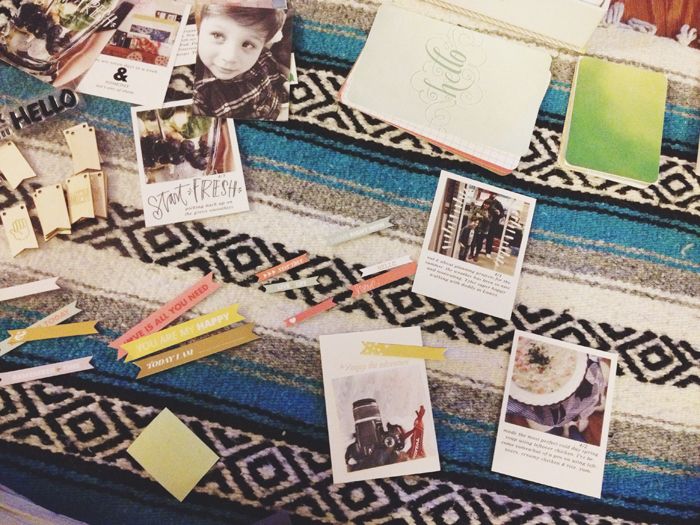
Because it's dark and getting late, I'm just going to plot and do a little planning tonight. I'm matching PL cards to photos here. I'll stack 3-4 cards next to a photo and make final decisions when it's daylight out.
At this point, I can hardly keep my eyes open (it's a little past midnight). I pack everything back into the box and put it away. I've made a point to do this each time I scrapbook. It's easy to just walk away from the mess but I don't have that privilege. Plus it's just the way I do things now (with the kitchen after dinner, etc) I like waking up and walking into a (mostly) clean space. My mind is a cluttered mess to begin with. Keeping my surroundings tidy makes me feel more in control and less anxious. This is me now. I was the exact opposite before Tyler came along. :)
Until next time!
Tina

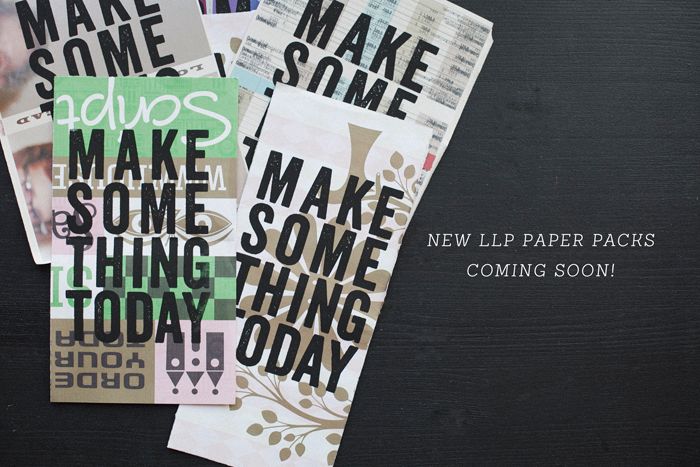 I'm going to put up a presale for the next LLP paper packs over the weekend! I know I don't make enough of these packs from the emails I receive. Holding a presale will give me a better idea of what I need to produce AND it will lock in your pack. ETA on shipping will be May 23rd and I'll post sneaks from here until then.
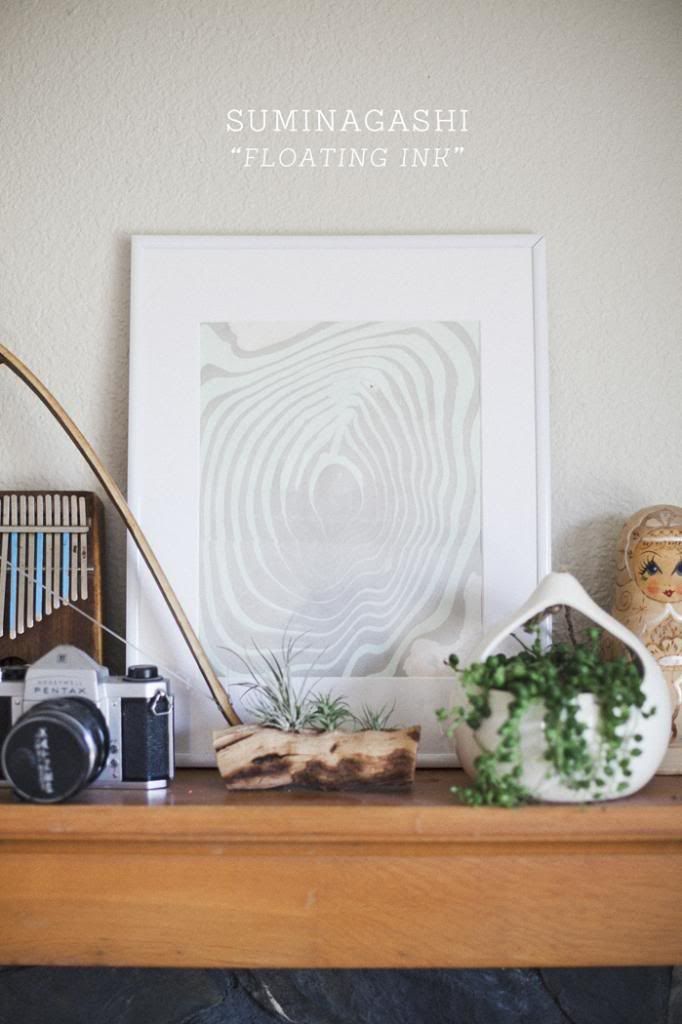 (yikes, someone needs to dust.) I tried marbling paper a long time ago but recently came across a few pins that sparked my interest in the art again. Today I'm actually going to show you Suminagashi which is Japanese marbling. In no way am I claiming to be an expert in this. There are several great tutorials on the subject and some beautiufl works of art. What attracted me to Suminagashi was this. It almost looks like a woodgrain. Seriously, look how gorgeous!
 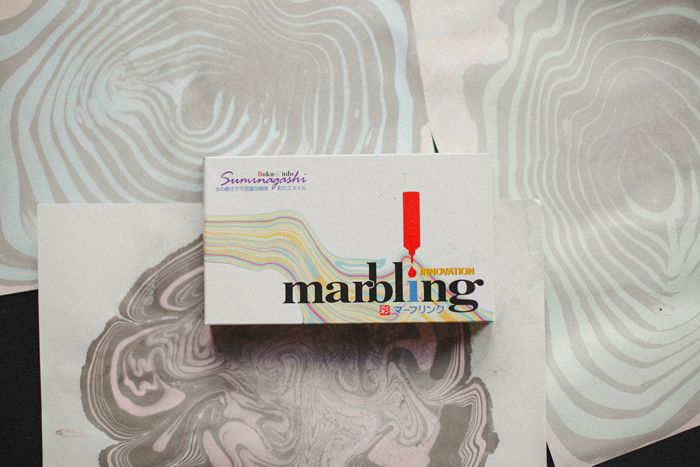 It looked easy enough to do with Tyler and it was! I'm always on the hunt for a fun and easy make to do with Tyler. A craft that I can appreciate as well. I purchased this set from our local art supply store, Blaines. I paid $18 for the set. You can purchase them online as well.
 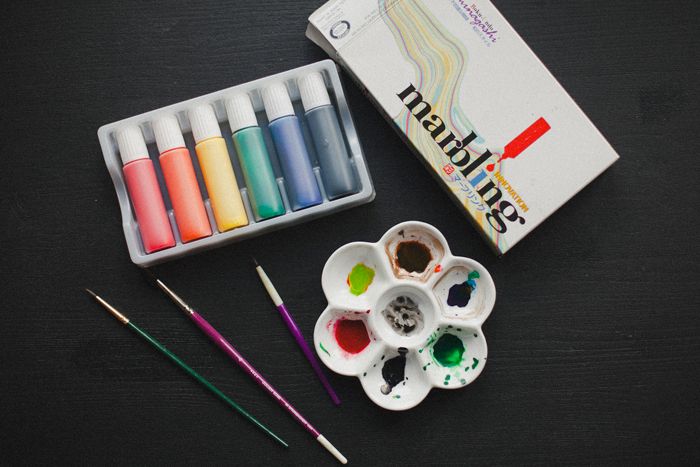 I'm amazed at how easy this art is. You almost can't mess this up. That's why it's great for Tyler. It can get messy though so set up your workstation accordingly. It's easy to achieve the woodgrain pattern but Tyler's came out more of a traditional marble effect. You basically take 2 skinny paint brushes, dip it into the ink and lightly touch the water. Here's a great
 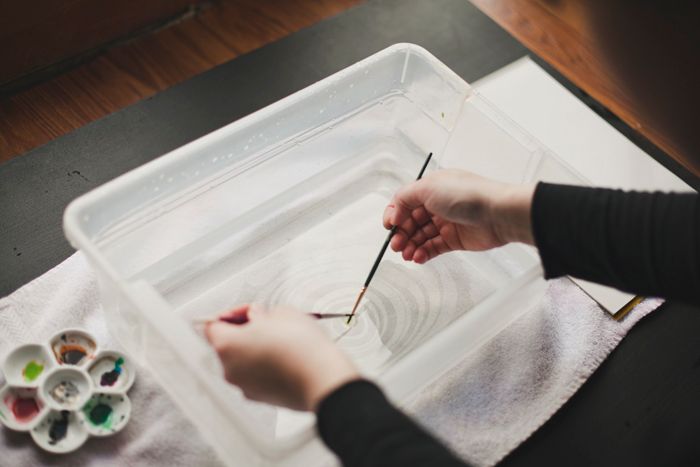 Once you've made several rings of ink, carefully place your paper on top of the floating ink, then lift off. Place your paper down on a flat surface to let dry. I placed a towel on the floor for this stage. Here's where I need to practice more though. The dyes sort of ran a little. I found that if I patted the excess water with a paper towel, it helped a bit. We used plain ol' white art paper on our first try. Wasn't too bad but the paper did buckle quite a bit. I did try using watercolor paper but the results weren't as great. I always like to use things I have on hand before I go out and purchase anything. I found a stash of blank business cards meant for letterpress.....it worked great! I ended up doing a whole set of business cards for the upcoming LLP print release. I recommend placing dry marbled papers under some heavy books overnight to help flatten the paper.
  Here are some useful links on the Suminagashi:
  I didn't really plan on partaking in any NSD activity due to my sickly state during the week. I felt it would be irresponsible of me to push other, more important things aside to scrapbook but why not indulge in some fun.

 Man, I think I have a blog schedule down and then something comes up and throws a loop in everything and then there's nothing here for weeks. This time is was the stomach flu. I remember thinking, "
 It's Saturday, early afternoon.


 happy weekend!
Tina
happy weekend!
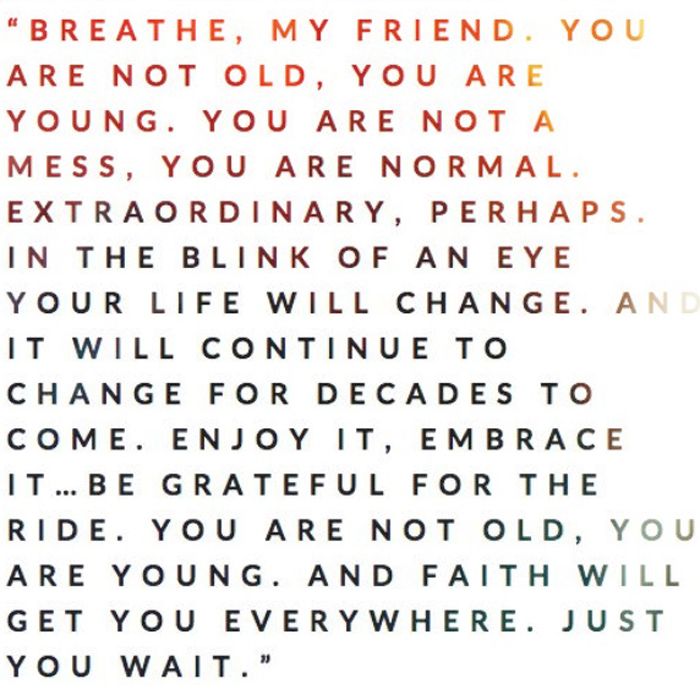
Tina Have you ever wanted to learn how to incorporate a little mixed media into your everyday scrapbooking? This is the
 my take on a quote I
 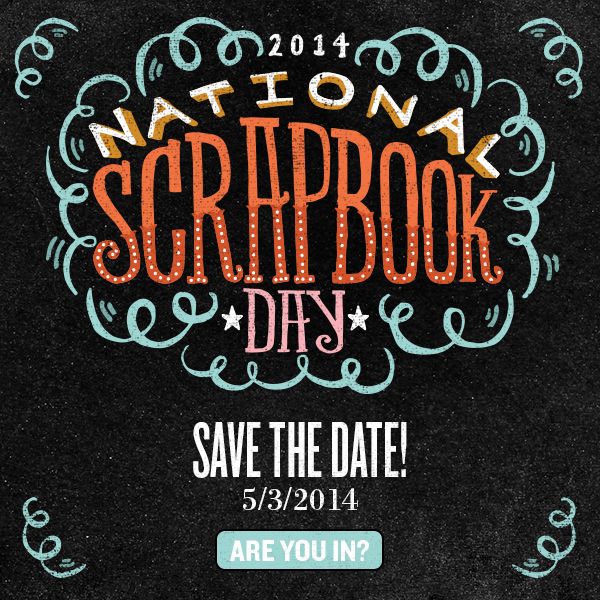 Mark your calendars! Celebrate NSD with Studio Calico on May 3rd! More details


 From the beginning of January.
2014 card designed by
From the beginning of January.
2014 card designed by 


 I just put up some leftover screen prints in the
 Spring Forward! they say.
I'm not much of a springer. This particular time change is hard. It's not that I'm NOT enjoying the extra daylight because I DO. It's all kinds of wonderful, especially when you're an Alaskan. It's just this "off" feeling that I can't shake. It feels like that one episode of Unsolved Mysteries with the case about
Spring Forward! they say.
I'm not much of a springer. This particular time change is hard. It's not that I'm NOT enjoying the extra daylight because I DO. It's all kinds of wonderful, especially when you're an Alaskan. It's just this "off" feeling that I can't shake. It feels like that one episode of Unsolved Mysteries with the case about