I took the weekend to ponder my own question I presented on Friday and I've come to realize I've confused what it is to be a successful blogger. After all, we define our own success.
“If the day and the night are such that you greet them with joy, and life emits a fragrance like flowers and sweet-scented herbs, is more elastic, more starry, more immortal — that is your success.” - Henery David Thoreau
Whether you're starting out or in a "what am I doing" slump like myself, I think it's best to write a list of expectations when it comes to your blog.
Here are a few things off my own list....
I'm not necessarily looking for a million followers but having a boost in readers would be nice, especially if I've spent a day putting a DIY together.
Do I want to make money from my blog? No, not really. Not if entails having said followers and posting everyday. Time spent on blog management is better spent in my studio working on current and future designs. That is where I want to generate more income.
I do want to use my blog as a platform for my business but I don't want to just post shop updates and what I'm up too. I want to reach out to other creatives and this is where I'd like to change things up.
Here's where I've confused things. I thought in order to be a successful maker/creative that I also needed to be a successful blogger, which I think I can still be on my own terms. I want it all sometimes but I am not that person and I need to play up on my strengths rather than work against them.
There were so many great responses to my question. Thank you for taking the time to write. It helps put things in perspective. That is the biggest thing I didn't think about when I wrote that post....connecting with your peers. I want more of that as well. That is ultimately what blogging is about, no?
Tina

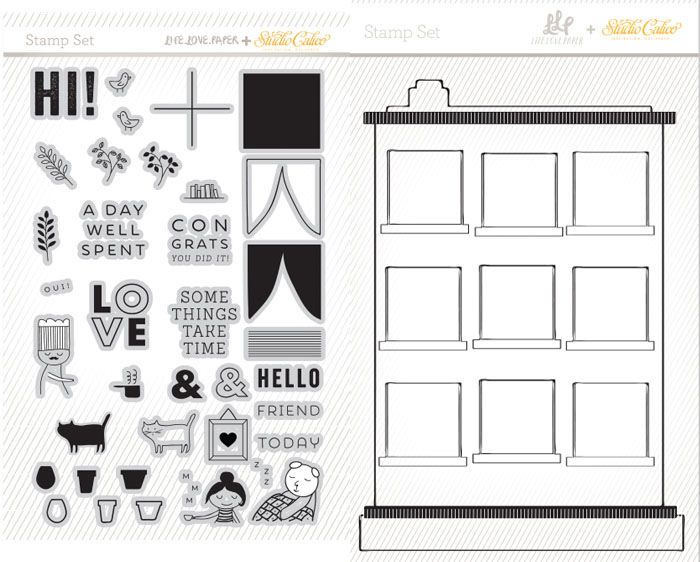
 Another productive week of designing + making. I may have illustrated my favorite stamp set yet for the Studio Calico September kit. :) I also added a few more designs to the next paper pack which is nearly there as far as pulling things together. Production starts next week! As soon as I have some sneaks, I'll put up a presale, promise. I had a few emails asking about this because I did mention I would do a presale like last month. Oy. Truth is, my confidence level isn't so high when I come up with my own designs. You should see my reject pile. We're getting there though.
 IG feeds have been inundated with


 Another highly productive week thanks to Mr. Sun. All projects pretty much came to a stand still once the rain rolled in which was nice. Cold, but nice. What is it about rainy days that make you just to curl up and stay in?
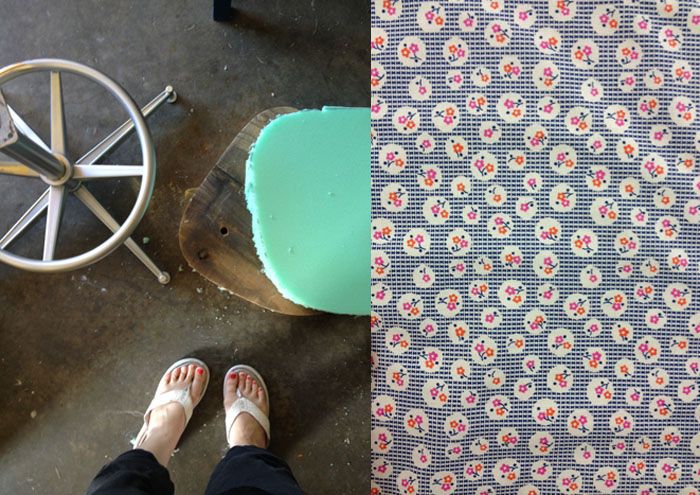


 We're currently re-doing the spare bedroom that use to be my craft room, that turned into an office/storage area after my son was born. I'm reclaiming it again, working to achieve some sort of functionality. I can't promise myself that I will be the most organized ever but I can promise to make the room useable for both my son and I.

 I'm so excited to announce that I will be co-teaching Studio Calico's next class,
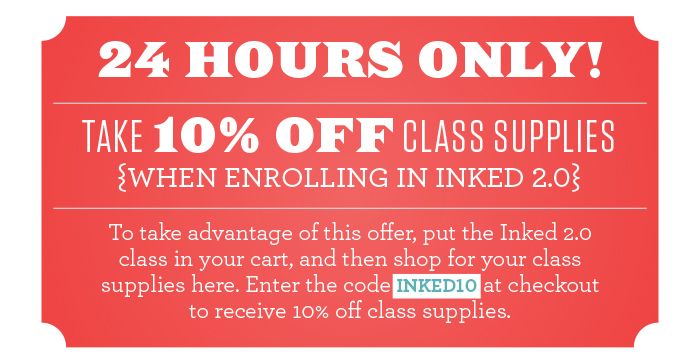


 a few notes.
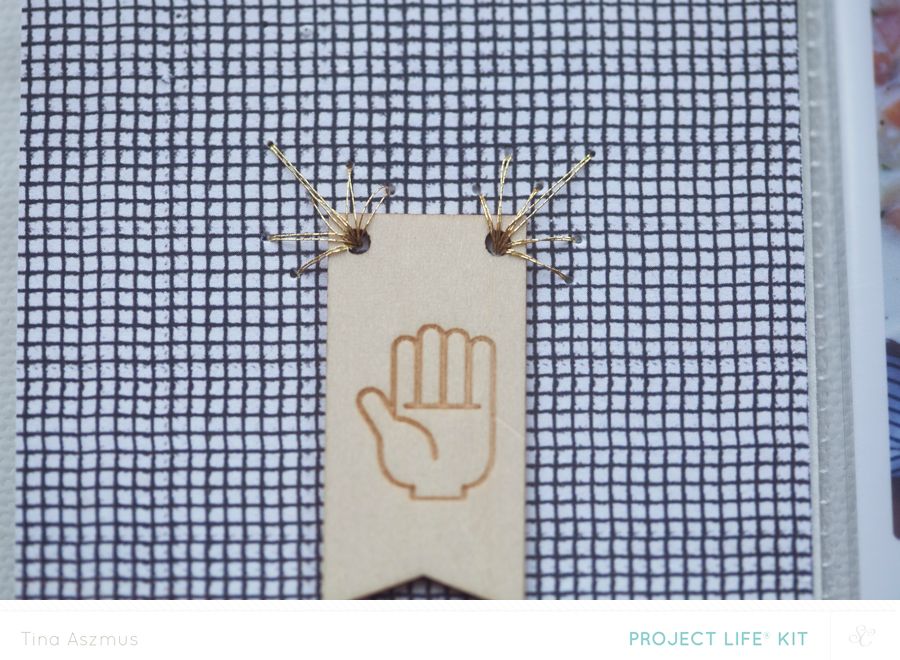
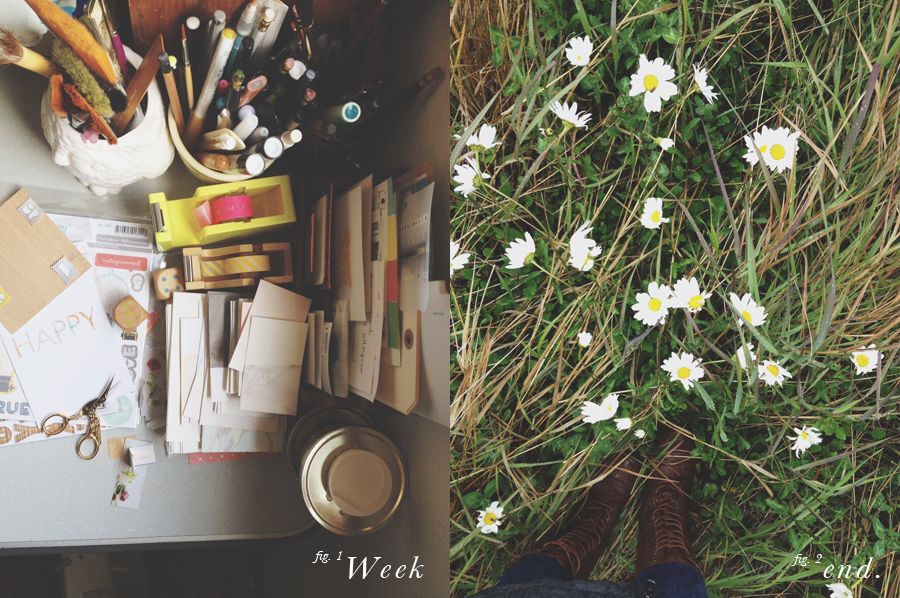
 Who's happy it's Friday? This girl.
Happy Weekend friends.
Tina
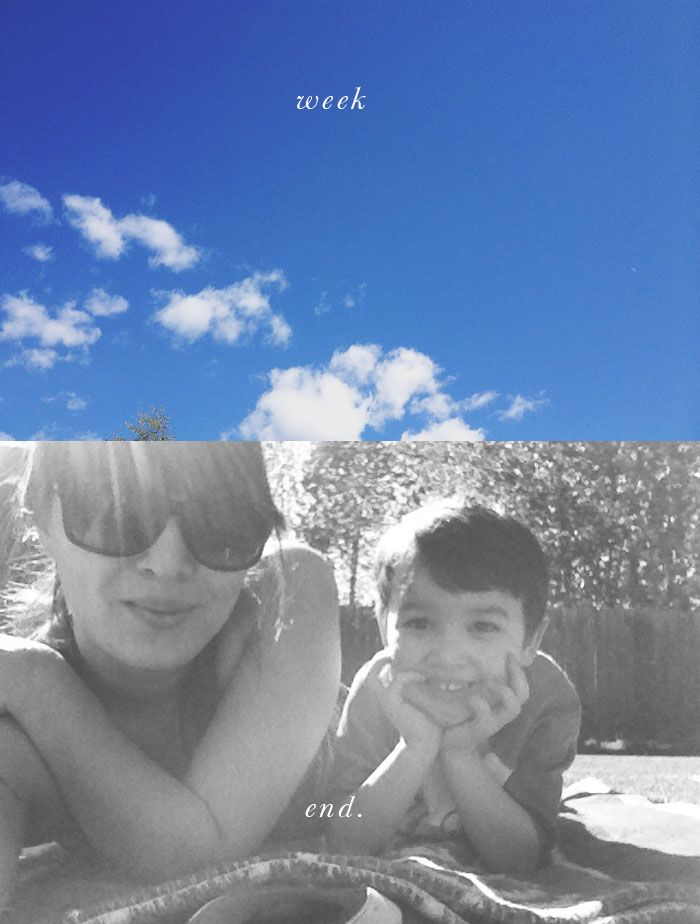
Who's happy it's Friday? This girl.
Happy Weekend friends.
Tina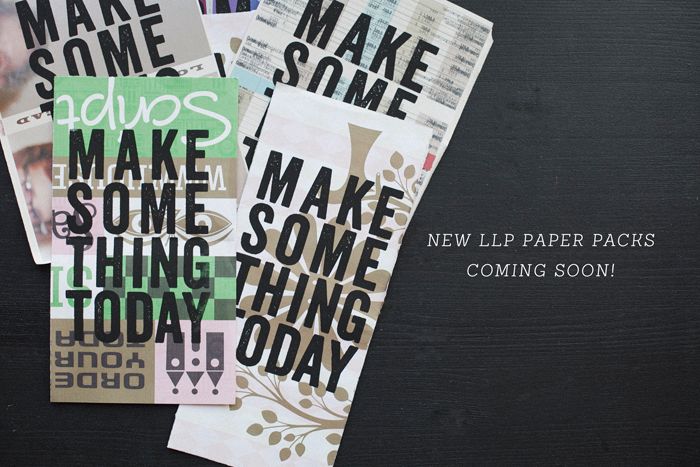 I'm going to put up a presale for the next LLP paper packs over the weekend! I know I don't make enough of these packs from the emails I receive. Holding a presale will give me a better idea of what I need to produce AND it will lock in your pack. ETA on shipping will be May 23rd and I'll post sneaks from here until then.
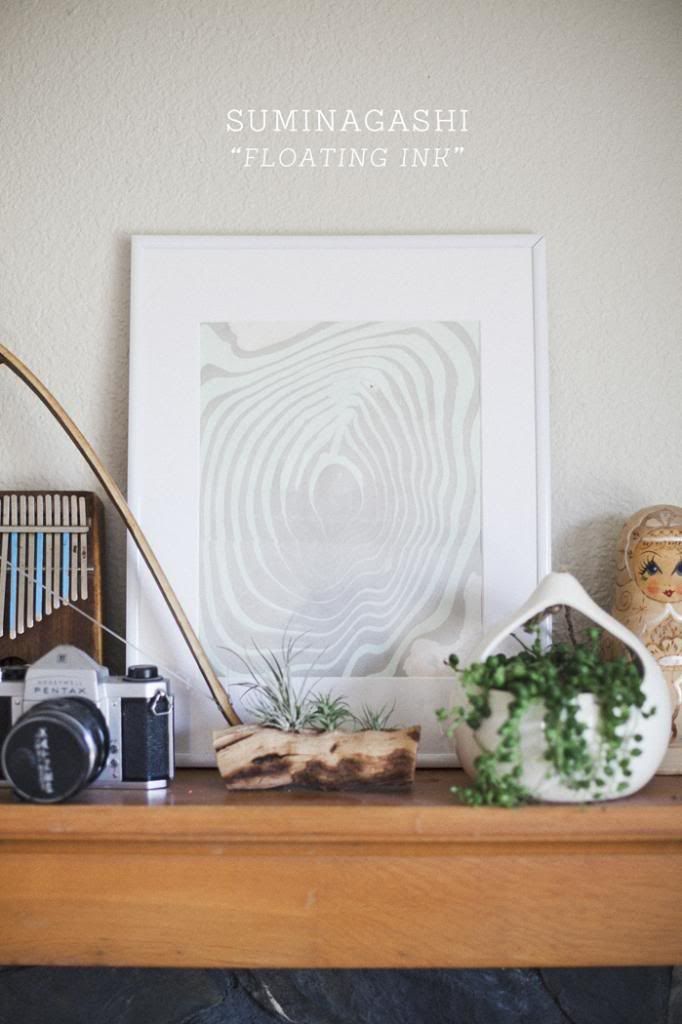 (yikes, someone needs to dust.) I tried marbling paper a long time ago but recently came across a few pins that sparked my interest in the art again. Today I'm actually going to show you Suminagashi which is Japanese marbling. In no way am I claiming to be an expert in this. There are several great tutorials on the subject and some beautiufl works of art. What attracted me to Suminagashi was this. It almost looks like a woodgrain. Seriously, look how gorgeous!
 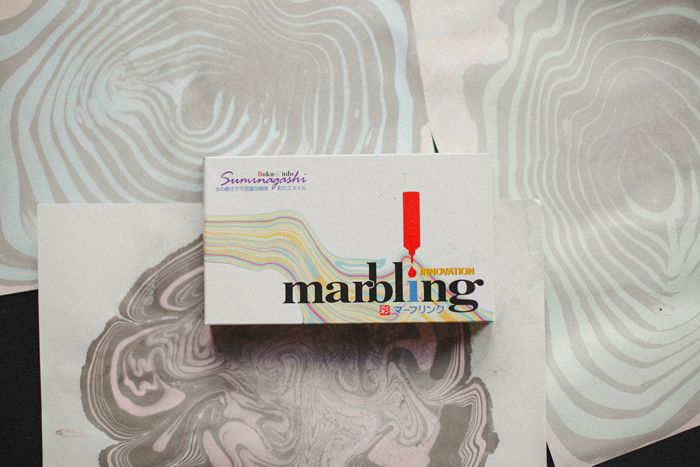 It looked easy enough to do with Tyler and it was! I'm always on the hunt for a fun and easy make to do with Tyler. A craft that I can appreciate as well. I purchased this set from our local art supply store, Blaines. I paid $18 for the set. You can purchase them online as well.
 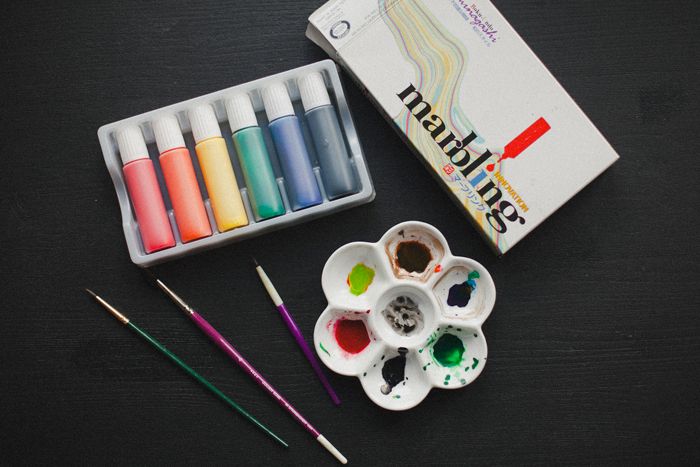 I'm amazed at how easy this art is. You almost can't mess this up. That's why it's great for Tyler. It can get messy though so set up your workstation accordingly. It's easy to achieve the woodgrain pattern but Tyler's came out more of a traditional marble effect. You basically take 2 skinny paint brushes, dip it into the ink and lightly touch the water. Here's a great
 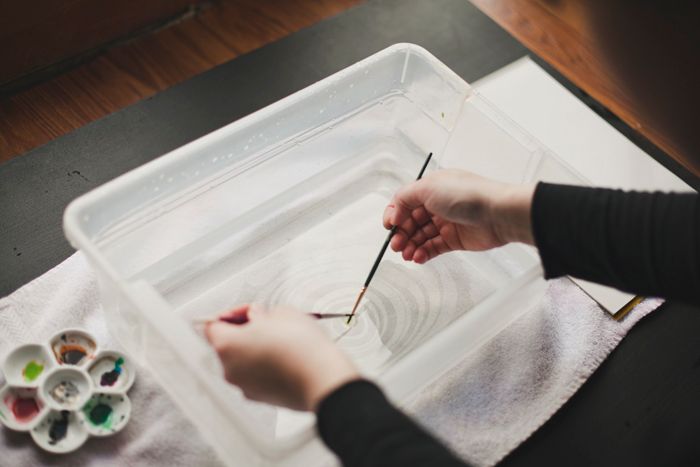 Once you've made several rings of ink, carefully place your paper on top of the floating ink, then lift off. Place your paper down on a flat surface to let dry. I placed a towel on the floor for this stage. Here's where I need to practice more though. The dyes sort of ran a little. I found that if I patted the excess water with a paper towel, it helped a bit. We used plain ol' white art paper on our first try. Wasn't too bad but the paper did buckle quite a bit. I did try using watercolor paper but the results weren't as great. I always like to use things I have on hand before I go out and purchase anything. I found a stash of blank business cards meant for letterpress.....it worked great! I ended up doing a whole set of business cards for the upcoming LLP print release. I recommend placing dry marbled papers under some heavy books overnight to help flatten the paper.
  Here are some useful links on the Suminagashi:
  I didn't really plan on partaking in any NSD activity due to my sickly state during the week. I felt it would be irresponsible of me to push other, more important things aside to scrapbook but why not indulge in some fun.

 Man, I think I have a blog schedule down and then something comes up and throws a loop in everything and then there's nothing here for weeks. This time is was the stomach flu. I remember thinking, "
 It's Saturday, early afternoon.